Watering tomatoes seems simple, but mastering it is the secret to unlocking a truly abundant harvest. Inconsistent or improper watering is the root cause of many common tomato problems, from cracked fruit to the dreaded blossom end rot. This guide moves beyond simple advice and provides a scientific, stage-by-stage framework for irrigating your tomato plants. By understanding the “why” behind the “how,” you can provide precisely what your plants need at each critical phase of development, ensuring they are healthy, resilient, and highly productive.
The Science of Tomato Hydration: Why Water is Crucial
Water is more than just a drink for your tomato plants; it’s the lifeblood that facilitates every critical biological process. Understanding these functions helps explain why precise watering techniques are so important for fruit quality and plant health.
Nutrient Transport and Photosynthesis
Tomatoes absorb essential nutrients like calcium, nitrogen, and potassium from the soil. However, they can only do so when these nutrients are dissolved in water. Water acts as a transport system, carrying these minerals from the roots up through the plant’s vascular system (the xylem) to the leaves and developing fruit. Without adequate water, this nutrient pipeline shuts down, leading to deficiencies even in well-fertilized soil.
Preventing Common Water-Related Disorders
Many common tomato ailments are directly linked to irrigation.
- Blossom End Rot: This dark, sunken spot at the bottom of the fruit is caused by a localized calcium deficiency. It’s not usually a lack of calcium in the soil, but rather the plant’s inability to transport it due to inconsistent watering.
- Fruit Cracking: Cracks appear when the plant experiences a sudden, rapid intake of water after a dry spell. The fruit’s inner pulp expands faster than its skin can stretch, causing it to split. Consistent moisture is the key to prevention.
Turgor Pressure and Structural Support
Water fills the plant’s cells, creating internal pressure known as turgor pressure. This pressure is what keeps the stems and leaves firm and upright, allowing them to effectively capture sunlight for photosynthesis. When a plant is dehydrated, it loses this pressure, resulting in the visible wilting of its leaves.

A Stage-by-Stage Guide to Watering Tomatoes
A tomato plant’s water requirements change dramatically throughout its lifecycle. Applying the same amount of water from seedling to harvest is inefficient and can cause significant problems. Here is a breakdown of how to adapt your watering strategy for each growth phase.
Stage 1: Seedling and Establishment Phase (First 2-3 Weeks)
During this initial stage, the goal is to encourage a deep and robust root system.
- Technique: Water gently but thoroughly right after transplanting to settle the soil. For the next few weeks, allow the top inch of soil to dry out before watering again. This slight stress encourages roots to grow downward in search of moisture.
- Frequency: Typically every 2-3 days, depending on weather.
- Common Pitfall: Overwatering. Seedlings have small root systems and are highly susceptible to root rot in soggy soil.
Stage 2: Vegetative Growth Phase (Weeks 3-6)
The plant is now focused on developing leaves and stems. Water needs increase significantly as the plant’s size grows.
- Technique: Begin deep watering. Provide a long, slow soak that ensures moisture penetrates 6-8 inches into the soil. Aim for about 1-1.5 inches of water per week, including rainfall.
- Frequency: Deep watering 2-3 times per week is better than a shallow sprinkle every day.
Stage 3: Flowering and Fruit Set Phase
This is the most critical phase. Water stress now can cause the plant to drop its blossoms, resulting in a poor harvest.
- Technique: Consistency is paramount. Do not let the soil dry out completely. Maintain a consistently moist soil bed to support flower development and the initial formation of fruit.
- Frequency: You may need to increase frequency as temperatures rise, but always check the soil first.
Stage 4: Fruit Development and Ripening Phase
The plant is now channeling energy into enlarging and ripening its fruit. Water needs remain high.
- Technique: Continue deep, consistent watering to ensure fruits swell properly and to prevent cracking. As the first fruits begin to show color, you can slightly reduce watering to concentrate the sugars and improve flavor, but do not let the plant wilt.

Mastering Watering Techniques for Healthy Plants
How you deliver water is just as important as how much you provide. The right technique maximizes absorption, minimizes waste, and prevents disease.
Best Practices for Application
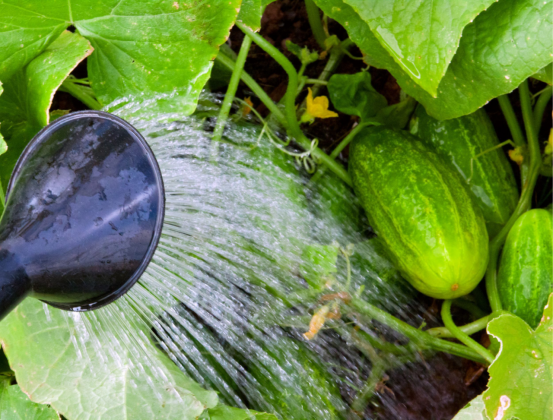
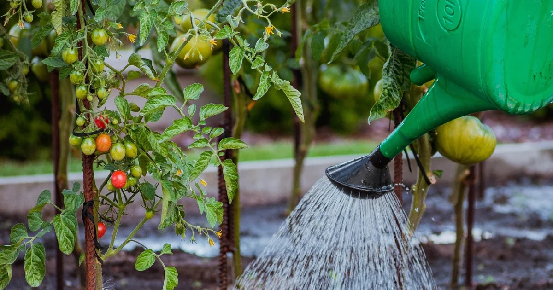
- Water at the Base: Always apply water directly to the soil around the base of the plant. Wetting the foliage creates a perfect environment for fungal diseases like blight and powdery mildew.
- Water in the Morning: Morning is the ideal time to water. It gives the plant ample moisture to handle the heat of the day and allows any accidental splashes on the leaves to dry quickly in the sun, reducing disease risk.
- Water Deeply, Not Daily: A deep soak encourages roots to grow down into the soil, creating a more drought-resistant plant. Shallow, frequent watering promotes a weak, shallow root system that is vulnerable to heat stress.
Irrigation Systems Compared
Choosing the right irrigation system can save time and deliver water more efficiently.
| Irrigation Method | Pros | Cons |
|---|---|---|
| Drip Irrigation | Highly efficient, delivers water directly to the root zone, minimizes evaporation, keeps foliage dry. | Higher initial setup cost, emitters can sometimes clog. |
| Soaker Hoses | Easy to install, delivers water slowly and deeply, keeps foliage dry, relatively inexpensive. | Can be less precise on sloped ground, may degrade in sunlight over time. |
| Hand Watering | Low cost, allows for inspection of each plant. | Time-consuming, difficult to apply water deeply and consistently, high risk of wetting foliage. |

Diagnosing Watering Issues: Over vs. Under
Plants send clear signals when they are unhappy with their water situation. Learning to read these signs allows you to correct course before permanent damage occurs.
Checklist for Underwatering
- Wilted leaves during the hottest part of the day that do not recover in the evening.
- Dry, cracked soil surface.
- Yellowing, brittle leaves at the bottom of the plant.
- Stunted growth and blossom drop.
- Fruit may develop blossom end rot due to poor calcium uptake.
Checklist for Overwatering
- Yellowing leaves, often starting from the bottom and progressing up.
- Wilted leaves that feel soft and limp, even when the soil is wet.
- Stunted growth with a generally unhealthy appearance.
- Presence of fungus gnats or a moldy smell from the soil.
- Root rot (brown, mushy roots) if the plant is removed from the soil.

Expert Tips for Tomato Watering Mastery
Elevate your tomato growing game with these professional tips for handling common challenges and optimizing your setup.
The Power of Mulch
Applying a 2-3 inch layer of organic mulch (such as straw, shredded leaves, or wood chips) around your tomato plants is one of the most effective things you can do. Mulch helps to suppress weeds, regulate soil temperature, and most importantly, it dramatically reduces water evaporation from the soil surface, meaning you’ll need to water less often.
Watering Tomatoes in Containers
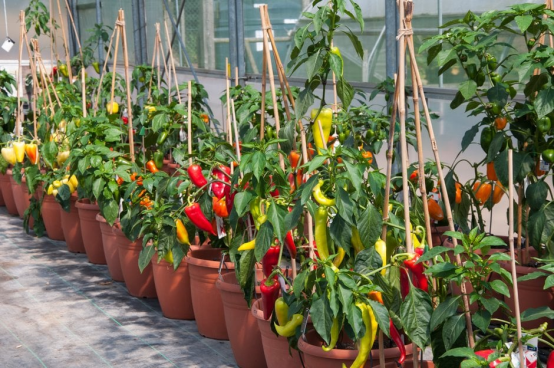
Tomatoes grown in pots and containers dry out much faster than those in the ground. You will need to check them daily, especially during hot weather. Ensure your pots have excellent drainage holes to prevent waterlogging. On peak summer days, a large plant in a container may require watering once or even twice a day.
Adjust for Weather and Soil
No watering guide is one-size-fits-all. Always be prepared to adjust. During intense heatwaves or windy conditions, plants will need more water. Conversely, reduce watering during cool, cloudy periods. Sandy soils drain quickly and require more frequent watering, while heavy clay soils hold moisture longer and can be watered less often. The best tool is your finger: stick it two inches into the soil. If it’s dry, it’s time to water.
Frequently Asked Questions (FAQ)
-
How can I tell if my tomatoes need water?
- The most reliable method is the soil check. Push your finger about 2 inches into the soil near the base of the plant. If the soil feels dry at that depth, it’s time to water. Wilting can be a sign, but be cautious, as plants can also wilt slightly in extreme heat to conserve moisture, even if the soil is wet. Check the soil first before adding more water.
-
Is it really that bad to get tomato leaves wet?
- Yes, it is a significant risk. Wet foliage, especially overnight, creates the ideal breeding ground for fungal diseases like Early Blight, Late Blight, and Septoria Leaf Spot. These diseases can quickly damage or kill your plants. Always aim water at the soil level.
-
Can you revive a severely underwatered tomato plant?
- Often, yes. If you find a plant that is completely wilted from lack of water, give it a long, slow, deep soaking at the base. Do not flood it all at once. Provide some temporary shade if it’s in direct sun. In many cases, the plant will begin to recover and perk up within a few hours. However, severe or repeated wilting can cause permanent stress and reduce your overall yield.
-
How much water do tomatoes need per week?
- A general rule of thumb for in-ground tomato plants is 1 to 2 inches of water per week, factoring in rainfall. This translates to about 0.6 to 1.2 gallons of water per square foot. However, this is just a starting point. Needs will vary greatly based on plant size, container vs. ground, soil type, and weather conditions.
-
Does adding mulch reduce the need for watering?
- Absolutely. A 2-3 inch layer of organic mulch is one of the best water-conservation tools for a gardener. It insulates the soil, keeping it cooler, and significantly reduces the amount of moisture that evaporates from the surface. This means the water you apply stays in the root zone longer, allowing you to water less frequently.